Why a Targeted Refresh Often Outperforms a Full Renovation
A full gut renovation - removing tile, relocating plumbing, and rebuilding from scratch - typically costs tens of thousands of dollars and displaces a household for weeks. For bathrooms where the layout works and the underlying structure is sound, targeted cosmetic upgrades deliver a surprisingly large return on a fraction of the investment. The key is understanding which elements the eye actually registers as dated versus which are simply functional and invisible.
Grout lines, caulk seams, fixtures, lighting, and wall color account for the vast majority of what gives a bathroom its visual character. These are all replaceable without touching a single floor tile or moving a drain. For context on planning any size of home project, our guide to home renovation planning covers budgeting and scope from first idea through final walkthrough.
What you will need
What You'll Need
Before starting, gather the right tools and materials. Having everything on hand prevents mid-project hardware store trips that stall momentum and add time.
Grout saw or oscillating tool
Removes old, stained grout from tile joints before regrouting.
Grout float
Spreads and packs new grout evenly into tile joints.
Caulk gun and silicone caulk
Seals tub-to-tile and wall-to-floor transitions to prevent moisture intrusion.
Adjustable wrench and basin wrench
Loosens and tightens supply line connections when swapping a faucet.
Non-contact voltage tester
Verifies a circuit is de-energized before touching light fixture wiring.
Paint roller and angled brush
Applies mold-resistant paint to walls for a clean, updated look.
Stud finder
Locates studs or backing behind drywall for securely anchoring a new mirror or shelf.
Know When to Call a Licensed Professional
Replacing a faucet or light fixture is generally manageable for a confident DIYer, but any work that involves moving supply lines, altering drain locations, or modifying electrical panels requires a licensed plumber or electrician. Unpermitted plumbing or electrical work can affect your home's resale value and insurance coverage. When in doubt, consult a qualified professional before proceeding.
Step-by-Step Bathroom Refresh
Turn Off Water and Power Before Starting
Before replacing any faucet or light fixture, shut off the water supply valve under the sink or at the main, and turn off the circuit breaker controlling the bathroom. Skipping these steps risks water damage or electric shock. Confirm power is off with a non-contact voltage tester before touching any wiring.
Assess the bathroom and prioritize your upgrades
Walk through the bathroom with fresh eyes and take photos. Note which surfaces look dated or dingy versus which are structurally sound and merely cosmetically tired. Common culprits include stained grout, yellowed caulk, builder-grade light fixtures, and mismatched hardware. Prioritizing by visual impact versus effort helps you plan a realistic scope - you don't need to do everything at once.
Regrout tile and recaulk joints
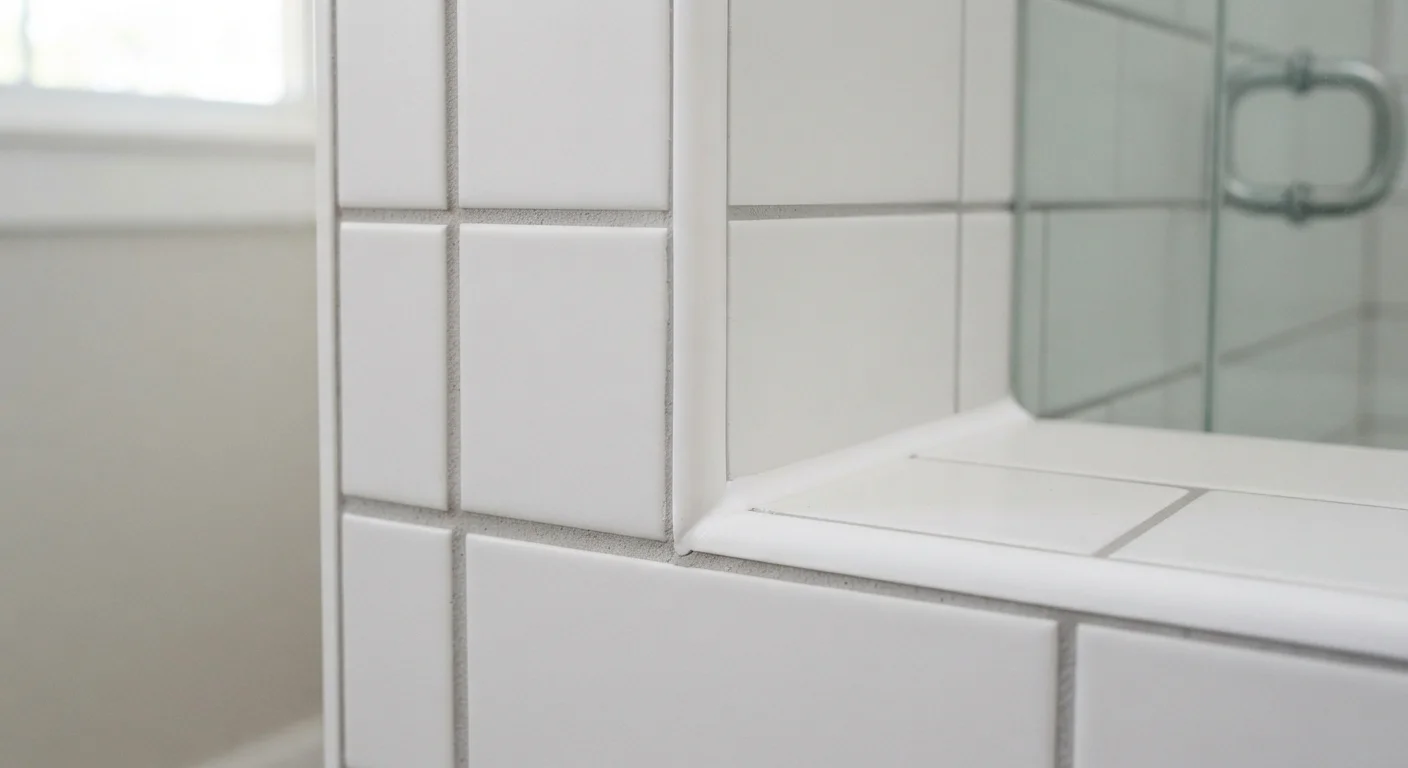
Grout and caulk are the most overlooked sources of a dated appearance. Use a grout saw or oscillating tool to carefully remove old grout to a depth of roughly 1/8 inch, vacuum out the dust, and apply fresh grout with a grout float. Allow it to cure fully per the manufacturer's instructions before exposing it to water. At corners and the tub-to-tile seam, use flexible silicone caulk rather than grout - the two materials serve different purposes, and using the wrong one leads to cracking. See our guide to choosing between caulk and grout for a full breakdown of when to use each.
Replace the faucet and hardware
Shut off the water supply and remove the old faucet by disconnecting the supply lines and loosening the mounting nuts with a basin wrench. Install the new faucet according to its included instructions, reconnect the supply lines hand-tight then snug with a wrench, and turn the water back on slowly to check for leaks. While you have tools out, swap towel bars, toilet paper holders, and robe hooks for matching hardware in your chosen finish.
Upgrade the vanity light fixture
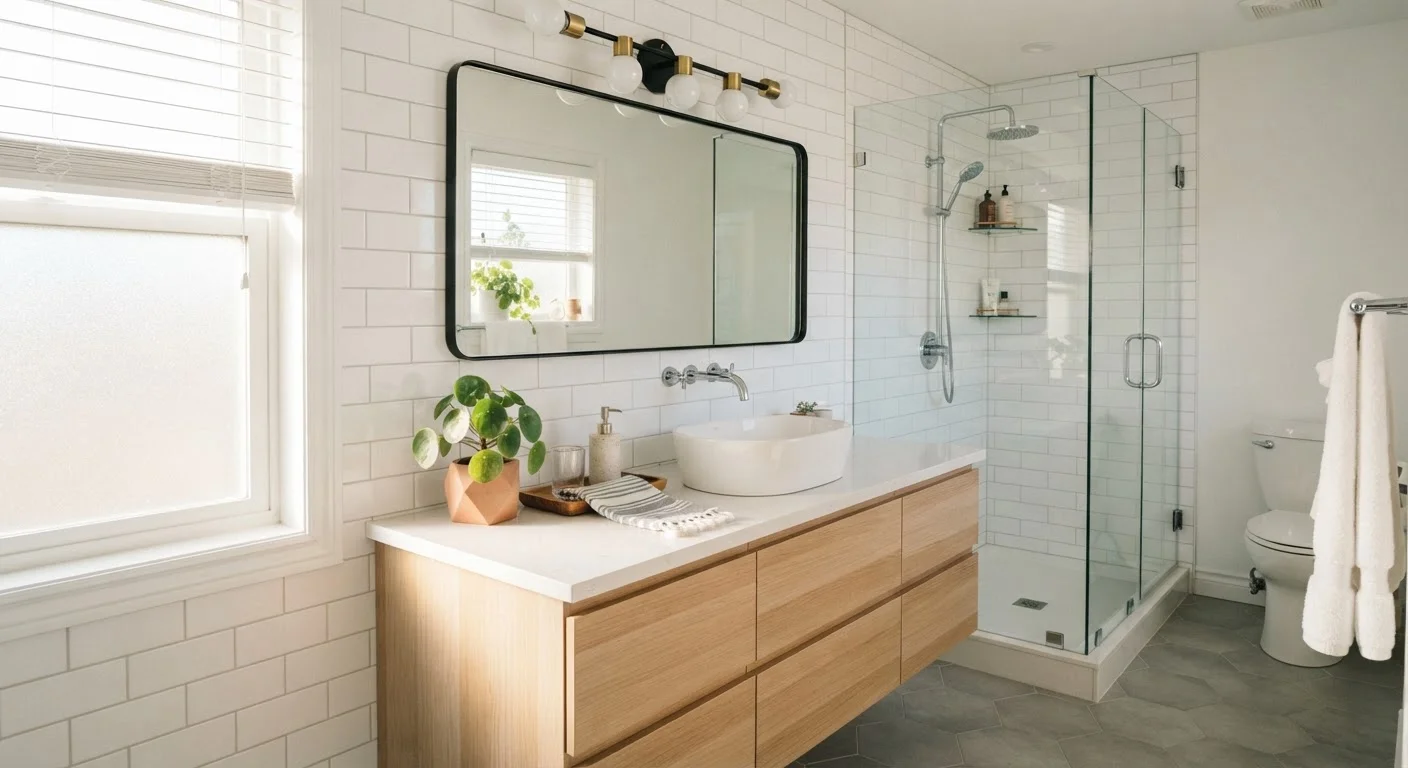
Turn off the circuit breaker for the bathroom and confirm the power is off with a non-contact voltage tester. Remove the old fixture, note how the wiring connects (black to black, white to white, ground to ground), and connect the new fixture the same way. Secure the fixture to the mounting bracket and restore power. A well-chosen light bar at eye level above the mirror dramatically improves task lighting and modernizes the room's overall look.
Paint the walls with a mold-resistant formula
Bathroom humidity demands a paint specifically formulated to resist mold and mildew. Clean walls with a mild detergent solution and allow them to dry completely before painting. Apply painter's tape around trim and tile edges, cut in with an angled brush, then roll the walls in two coats. Light, neutral tones tend to open up small bathrooms, while deeper tones can create a deliberate spa-like atmosphere. For more strategies on using color and layout to make compact spaces feel larger, see our article on small-space decorating.
Update the mirror, accessories, and storage
If the existing mirror is a basic builder frameless rectangle, consider replacing it with a framed mirror or a medicine cabinet that adds storage. Secure any new mirror to studs or use appropriate wall anchors rated for the weight. Finish the refresh by adding coordinating accessories - a soap dispenser, toothbrush holder, and a small plant or tray - that reinforce the finish and color palette you've chosen throughout the room.
Coordinate Finishes Across the Whole Room
Pick one metal finish - brushed nickel, matte black, or polished chrome - and apply it consistently to the faucet, towel bar, toilet paper holder, and light fixture. Mixing finishes unintentionally is one of the most common reasons a refreshed bathroom still looks disjointed. Consistency costs nothing extra and reads as intentional design.
Finishing Touches and Maintenance
Once the main upgrades are complete, step back and evaluate the room as a whole. Consistent finishes, adequate lighting, and clean grout lines will make even a decades-old tile layout look intentional and well cared for. Going forward, reseal grout annually with a penetrating grout sealer and inspect caulk joints each spring - catching small separations early prevents the water damage that escalates into genuine renovation territory.
The same principles of thoughtful, reversible improvements apply in other rooms. If you rent or want to experiment without commitment, our piece on decorating a rental kitchen without permanent changes offers parallel strategies for kitchens. And if you want a broader look at home décor ideas room by room, explore our Home Décor Tips hub for inspiration across every space.