Why Renters Need a Different Decorating Strategy
Decorating a rental kitchen presents a specific challenge: you want the space to feel genuinely yours, but you also need to protect your security deposit. The good news is that the market for renter-friendly products has expanded significantly, and you no longer have to choose between personal style and a full refund when you move out.
Unlike homeowners who can paint cabinets, install tile, or rewire lighting, renters must work within boundaries. That constraint, however, encourages creativity. Every decision becomes intentional - focusing on texture, color, and layout rather than structural changes.
For those working with limited square footage, the Small Kitchen, Big Personality guide covers decoration approaches that maximize impact without overwhelming a compact space. And if you're curious how rental decorating compares to a full ownership refresh, Kitchen Decoration for First-Time Homeowners outlines the decisions available when you have more freedom.
What you will need
Step-by-Step: Transforming Your Rental Kitchen
Follow these steps in order to build a cohesive look without committing to anything permanent. Each stage is reversible, and most can be completed in a single afternoon.
Document and review before touching anything
Take clear, time-stamped photos of every surface - walls, backsplash, cabinet fronts, floors, and fixtures. This protects you if any pre-existing damage is later disputed. Then re-read the relevant section of your lease. Some landlords restrict adhesives entirely; others are fine with Command-style strips but not peel-and-stick wallpaper. Know your boundaries before spending a cent.
Refresh the backsplash with removable tile or wallpaper
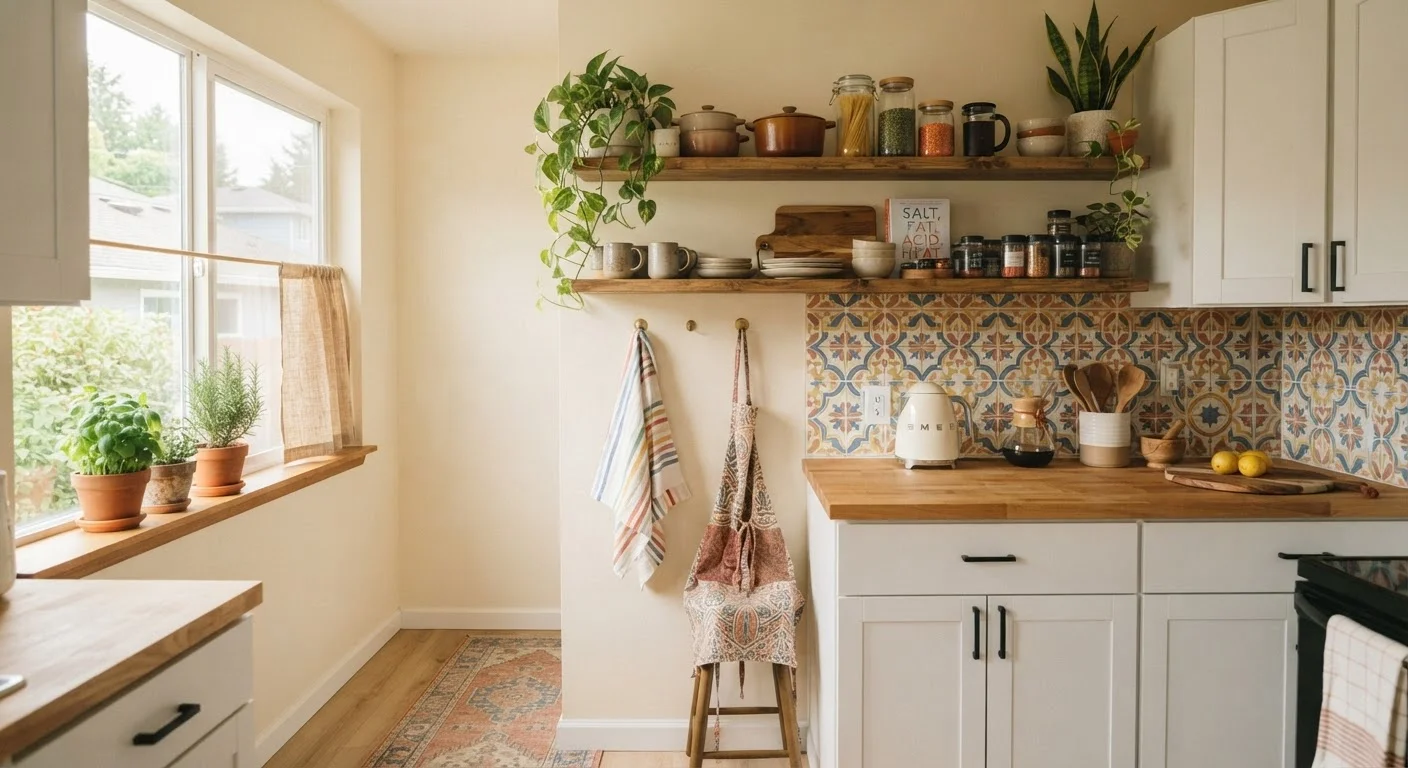
Peel-and-stick backsplash tiles and vinyl wallpaper designed for kitchens are widely available and, when applied correctly to clean, dry surfaces, remove without leaving residue. Measure your backsplash area carefully, cut panels to fit around outlets and switches, and follow the manufacturer's instructions for application temperature and surface prep. Subway tile patterns, geometric designs, and faux-stone options can entirely change the kitchen's visual anchor point.
Add open shelving with freestanding or tension-based solutions
You don't need to drill into walls to get the open-shelf look. Freestanding baker's racks, ladder shelves, and tension-pole shelving units provide vertical storage and display space without a single hole. Style them with a mix of everyday essentials - canisters, cutting boards, small plants - and a few purely decorative pieces to create a curated, lived-in feel.
Use adhesive hooks and rails for functional display
Removable adhesive hooks rated for 3-5 lbs each can hold utensil rails, small baskets, pot lids, and even lightweight magnetic spice racks on tile or painted walls. Stick to hooks that specify a clean-removal method and avoid placing them on surfaces that are already peeling or aged, where removal may cause collateral damage regardless of the product's claims.
Introduce color through textiles and countertop accessories
Window valances, dish towels hung on an oven handle, a colorful bowl of fruit, and a coordinated canister set are among the fastest ways to inject personality into a neutral kitchen. These items require no installation at all and can be swapped seasonally. Choose a consistent color family - two or three tones - and repeat them across different objects to create cohesion without clutter.
Elevate cabinet hardware temporarily
Some renters replace existing cabinet knobs and pulls with styles they prefer, storing the originals in a labeled bag to reinstall at move-out. This is usually low-risk as long as the replacement hardware fits the existing screw holes exactly - no new drilling required. Confirm this approach is acceptable under your lease before proceeding. Even a simple hardware swap can modernize the look of an entire kitchen.
Keep a Move-Out Binder
Store your original photos, product packaging, removal instructions, and any landlord correspondence in one folder - physical or digital. When it's time to move, you'll have everything needed to restore the kitchen cleanly and dispute any unfair damage claims with confidence.
Making the Most of What's Already There
Beyond the specific steps above, a few broader principles help tie the whole look together. Consistency in color palette - even just two or three repeating tones across textiles, containers, and accessories - creates a sense of intention that elevates the entire room.
Lighting matters more than most renters realize. Swapping out a standard ceiling globe for a plug-in pendant (no hardwiring required) or adding under-cabinet LED strips can dramatically shift the mood of a kitchen. Just save the original fixture and reinstall it before moving out.
A well-chosen kitchen rug can anchor the space and add warmth - read through the trade-offs before committing, since high-traffic kitchens demand materials that hold up to spills and frequent washing.
If your kitchen is genuinely small, the spatial strategies in Small Kitchen, Smart Changes can help you think beyond decoration into layout and storage. And for a broader room-by-room perspective, the small-space decorating guide covers how light and layout create the illusion of more space.
Damage-Free Doesn't Always Mean Risk-Free
Products marketed as removable or damage-free are designed and tested under specific conditions - typically smooth, freshly painted drywall. Older paint, textured surfaces, and wallpapered walls may react differently. Always test in an inconspicuous spot first, and never assume a product will perform identically on every surface in your rental.