Why Winter Weatherproofing Is Worth the Effort
Cold weather creates multiple pathways for damage to enter a home - not just through chilly drafts, but through moisture infiltration, freezing pipes, and structural stress from ice. The good news is that the majority of these risks are preventable with straightforward preparation done before temperatures fall. Small gaps in a building's envelope that feel inconsequential in summer can allow hundreds of dollars of heated air to escape every month in winter.
Weatherproofing isn't a single task - it's a checklist that covers the building envelope, mechanical systems, plumbing, and the roof. A methodical approach means nothing gets missed. For homeowners keeping track of annual maintenance, pairing this guide with a broader room-by-room seasonal checklist can help ensure year-round coverage. Likewise, annual maintenance tasks that owners often overlook are worth reviewing alongside this guide.
What you will need
What You'll Need Before You Start
Most weatherproofing tasks are accessible to homeowners with limited DIY experience. The materials are widely available at hardware stores, and the skill level required for the majority of steps is basic. Gathering everything before you start saves repeated trips mid-task.
Caulking gun and exterior-grade caulk
Used to seal gaps and cracks around window frames, door frames, and where utilities enter the home.
Weatherstripping rolls or door sweep
Seals the gap between moving doors/windows and their frames to block cold drafts and moisture.
Foam pipe insulation sleeves
Wraps around exposed pipes in unheated areas to reduce the risk of freezing and bursting.
Programmable or smart thermostat
Maintains consistent indoor temperatures automatically, reducing heating costs and protecting pipes.
Expanding spray foam
Fills larger irregular gaps around penetrations where standard caulk won't provide a complete seal.
Attic insulation (batt or blown-in)
Improves thermal performance of the attic floor, reducing heat loss and the risk of ice dams.
For work involving your heating system, gas appliances, or attic electrical wiring, always defer to a licensed professional. Weatherproofing is largely surface-level prep - it does not require you to open walls or modify any structural or mechanical systems.
Step-by-Step Weatherproofing Instructions
Work through the following steps before your region's first hard freeze. Completing them in order - from identifying leaks to protecting pipes, improving insulation, and servicing your heating system - builds on each previous step and ensures you don't miss a layer of protection.
Conduct a draft inspection throughout the home
Before buying materials, walk through every room and identify where cold air is entering. On a windy day, hold a lit incense stick or a damp hand near window frames, door edges, electrical outlets on exterior walls, and pipe penetrations. Any flicker or chill indicates an air leak. Mark each location with painter's tape so you can address them systematically.
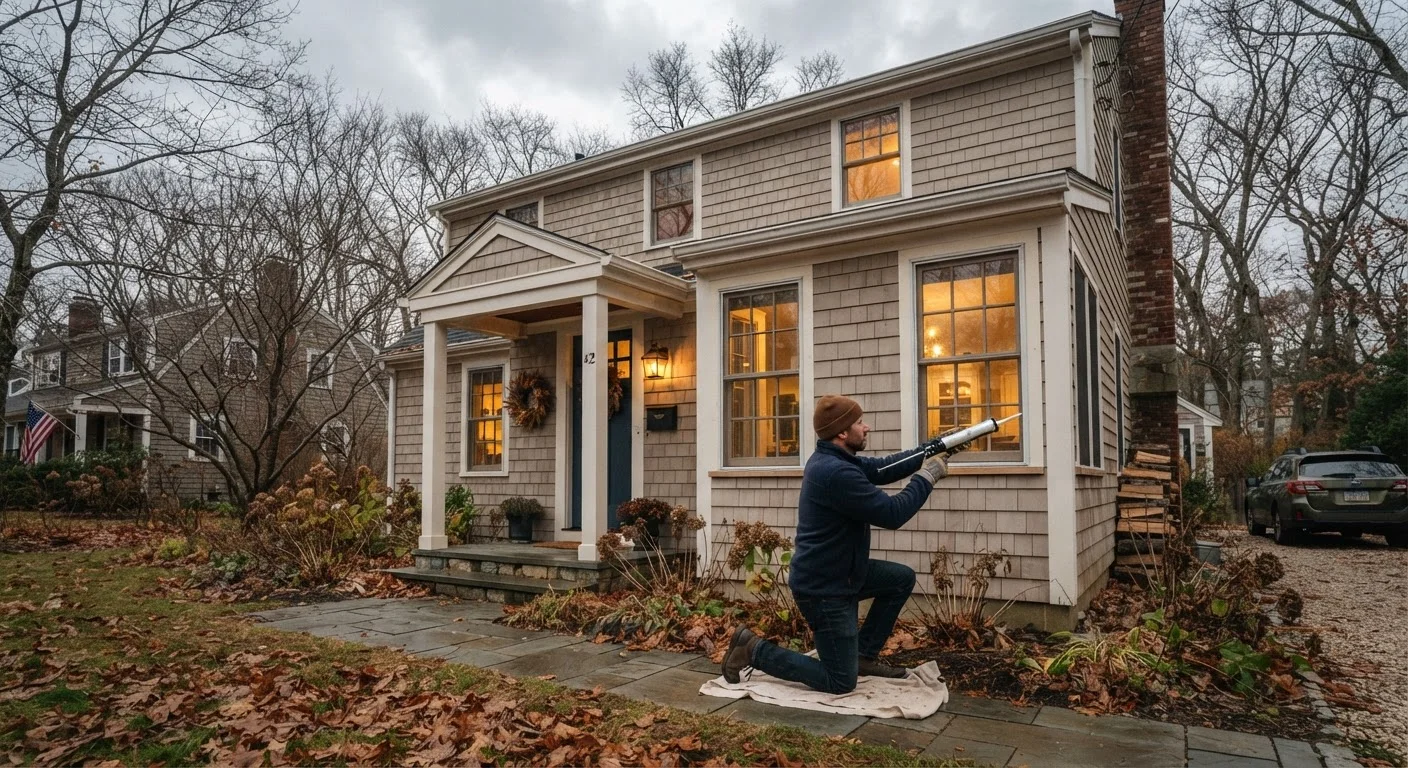
Seal gaps around windows and doors with caulk
Remove any old, cracked caulk with a utility knife or putty knife, then clean the surface thoroughly. Apply a continuous bead of exterior-grade caulk along the joint between the window or door frame and the surrounding wall. Smooth the bead with a damp finger and allow it to cure per the manufacturer's instructions before exposing it to rain. Focus first on north- and west-facing exposures, which typically bear the harshest winter winds.
Replace or install weatherstripping on exterior doors
Close each exterior door and look for visible daylight around the edges - even a small gap allows significant heat loss. Remove worn or compressed weatherstripping by peeling or unscrewing the old material, then cut new strips to length and press or nail them into place. Add a door sweep to the bottom edge to block the gap between the door and threshold. Test the seal by closing the door on a piece of paper; you should feel resistance when pulling the paper out.
Insulate exposed pipes in unheated spaces
Pipes in garages, crawl spaces, basements, and exterior walls are vulnerable to freezing when temperatures drop below 32°F. Measure the pipe diameter, then slide pre-slit foam insulation sleeves over each pipe and seal the seams with tape rated for the material. For areas that reach extreme cold, thermostatically controlled heat tape can be wrapped around the pipe beneath the foam sleeve. Pay particular attention to pipes along the home's exterior walls.
Check and improve attic insulation levels
Inadequate attic insulation allows heat to escape through the roof, warming the roof deck and melting snow unevenly. The meltwater then refreezes at the cold eaves, forming ice dams that can force water under shingles and into the home. Use a ruler to measure the current depth of insulation between joists. Many US climate zones call for R-38 to R-60 in the attic - check your local energy code or your utility's guidance for the recommended level for your region. If the insulation is below the top of the joists, adding more can make a meaningful difference.
Also seal any air bypasses - gaps around light fixtures, plumbing vents, and wiring - before adding insulation, since air movement undermines the insulation's effectiveness.
Service your heating system before the first cold snap
Schedule an annual inspection and tune-up for your furnace or boiler before temperatures drop. Replace the furnace filter, which should typically be changed every one to three months depending on filter type and household conditions. Bleed trapped air from radiators if you have a hot-water heating system. Ensure all vents and registers are unobstructed by furniture or rugs. Test the thermostat by raising the set temperature and confirming the system responds promptly.
Prepare the exterior: gutters, spigots, and entry points
Clean leaves and debris from gutters so meltwater can drain freely - clogged gutters contribute directly to ice dam formation and can pull away from the fascia under ice weight. Disconnect and drain garden hoses, then shut off outdoor hose bibs from the interior shutoff valve and open the exterior valve to drain any remaining water. Inspect the foundation perimeter for cracks where cold air or moisture can enter, and fill small cracks with hydraulic cement or appropriate masonry caulk.
Set Your Thermostat Before You Travel
If you'll be away from home for an extended period during winter, keep the thermostat set to at least 55°F - even in an empty house. This baseline temperature is generally sufficient to keep pipes from freezing in most climates, though homes in extremely cold regions may require higher settings. Ask a trusted neighbor to check in periodically and know where your main water shutoff is located.
Once you've completed the home, consider applying similar seasonal thinking to your vehicle. Our guide on seasonal vehicle preparation covers what cold weather means for fluids, tires, and batteries.
Common Mistakes and When to Call a Professional
A few weatherproofing errors show up frequently in homes and can reduce the effectiveness of your efforts or introduce new risks.
- Skipping air sealing before adding insulation: Insulation slows conductive heat transfer but does almost nothing to stop air movement. Seal gaps first, then insulate.
- Ignoring the attic hatch: Attic hatches are often uninsulated and unsealed, acting as a direct chimney for warm air. Add a foam gasket around the frame and an insulated cover.
- Blocking combustion air vents: Furnaces and water heaters in unfinished spaces may rely on nearby vents for combustion air. Do not seal these - consult your HVAC technician if you're uncertain which vents serve this purpose.
- Deferring gutter cleaning: Even well-insulated attics can experience minor ice build-up if gutters are blocked and water has nowhere to drain.
Electrical, Gas, and Structural Work Requires a Pro
Weatherproofing steps that bring you close to gas lines, the electrical panel, structural framing, or the roof surface are not DIY territory for most homeowners. Work on these systems without appropriate licensing or training can void insurance, violate local building codes, and create genuine safety hazards. When in doubt, get a professional assessment - the cost is almost always less than a repair.
If you're evaluating an unfamiliar property heading into winter, the home walkthrough checklist is a practical companion for spotting issues before they become your responsibility.