Why Cabinets Are Harder to Paint Than Walls
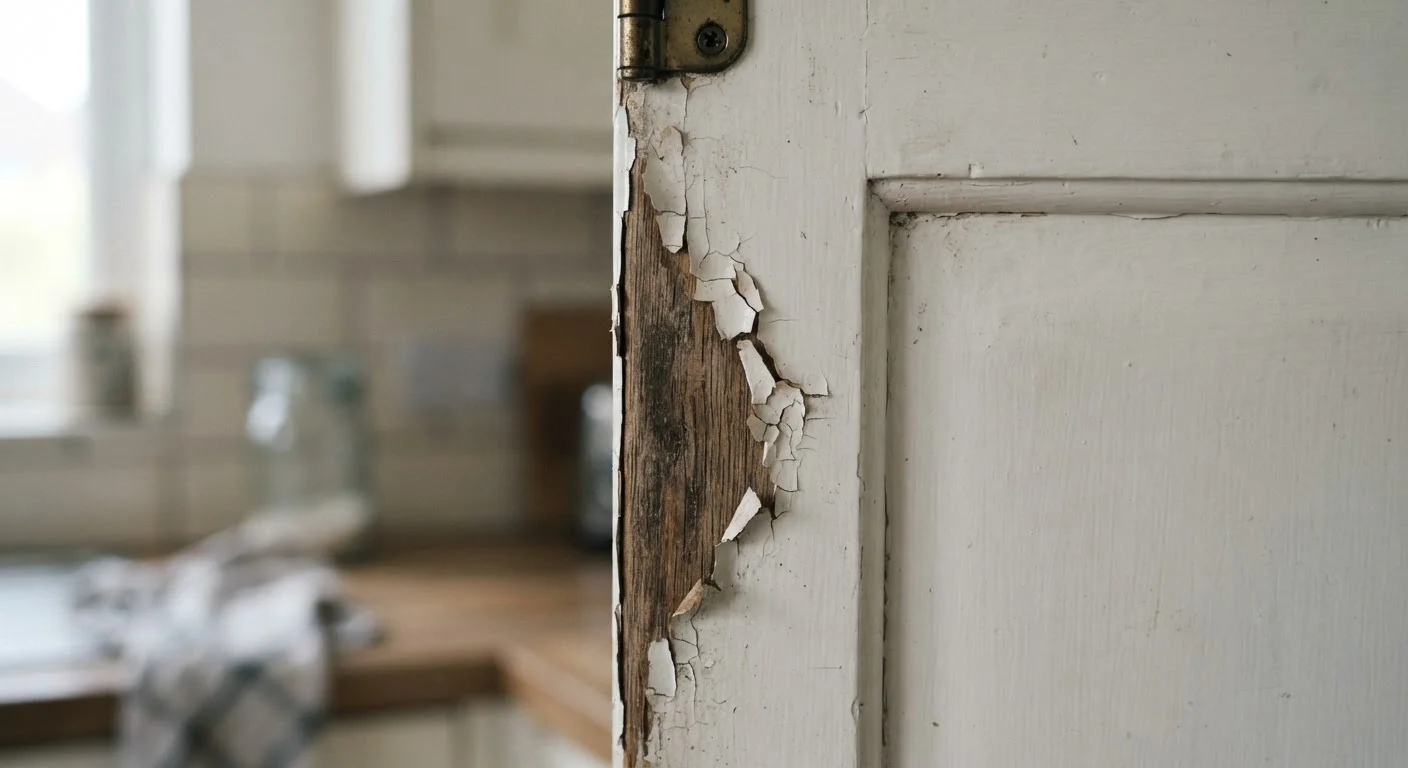
Cabinets take more abuse than almost any other painted surface in a home - daily touching, steam from cooking, cleaning sprays, and constant opening and closing. Because of this, paint applied to cabinets needs a far stronger bond than standard wall paint. When that bond fails, chipping follows quickly.
The frustrating part is that most chip problems are not caused by low-quality paint. They stem from what happens - or doesn't happen - before the first coat is ever applied. Understanding those failure points puts the fix squarely in your hands.
Painting over greasy or dirty cabinet surfaces without cleaning first.
Why it happens: Cabinets look clean to the eye, so many people skip washing them. Kitchen cabinets accumulate a near-invisible film of grease and residue that prevents paint from bonding.
Skipping the deglossing or sanding step on previously finished cabinets.
Why it happens: Existing finishes look smooth and ready, leading homeowners to assume paint will stick directly to them. Glossy surfaces are actually too slick for new paint to grip.
Using a wall primer instead of a bonding or cabinet-specific primer.
Why it happens: Primer is primer - that's a common assumption. Standard drywall primers are not formulated to adhere to slick wood or laminate cabinet surfaces under daily wear.
Applying paint coats that are too thick in an effort to finish faster.
Why it happens: Thick coats seem efficient, but paint doesn't cure evenly at depth. The surface skins over while the layer underneath remains soft, creating a finish prone to dents and chips.
Skipping light sanding between paint coats.
Why it happens: Once a coat looks smooth, sanding it feels counterproductive. In reality, each dried coat develops minor raised grain or dust nibs that need to be smoothed before the next layer goes on.
Choosing the Right Paint and Finish
Not every paint is built for cabinet work. Latex wall paints, even premium ones, tend to remain slightly flexible when cured, making them vulnerable to chipping on hard, high-impact surfaces. Cabinet-specific alkyd-hybrid or acrylic enamel formulas cure to a harder film that resists impact and moisture far better.
Sheen matters just as much as formula. Flat and matte paints are too porous and difficult to clean without damage. For cabinets, a satin or semi-gloss finish provides the right balance of durability and cleanability. If you want to understand how different sheens behave across your home, see our guide to interior paint finishes for a full breakdown.
Avoid Flat or Matte Paint on Cabinets
Flat and matte finishes absorb moisture and grime and cannot be wiped down without damaging the paint film. On cabinets, this leads to rapid deterioration and uneven wear around handles and edges. Always choose satin or semi-gloss for surfaces that see regular contact and cleaning.
Curing Time and Post-Paint Care
Even after paint feels dry to the touch, it continues to cure - hardening at the molecular level - for several weeks. During this window, the surface is vulnerable. Closing cabinet doors too soon, placing items on shelves, or scrubbing with cleaners before full cure can damage the finish before it ever has a chance to perform.
Most cabinet paints reach full hardness somewhere between two and four weeks after the final coat, depending on the formula, humidity, and temperature. Treat freshly painted cabinets gently during that period: wipe only with a barely damp cloth, and avoid harsh cleaners until the cure is complete. Patience at this stage is one of the simplest ways to extend the life of any cabinet paint job.
Don't Rush the Curing Process
Paint that feels dry is not the same as paint that is cured. Closing cabinet doors or loading shelves within the first few days can cause the surfaces to stick together or dent permanently. Give freshly painted cabinets at least one to two weeks of gentle use before returning to a normal routine, and check your specific paint's data sheet for its full cure window.