Why Three Layers Matter More Than One Bright Fixture
Most rooms rely on a single overhead fixture - and that single source is why so many spaces feel either too harsh or too dim, regardless of how nice the furniture is. A bare ceiling light casts a flat, even wash that flattens texture, creates unflattering shadows, and gives you no ability to shift the mood of the room as the day changes.
The three-layer approach - ambient, task, and accent - solves this by treating light the same way a designer treats furniture: as something that should serve multiple functions at once. Each layer addresses a different need, and together they create rooms that feel both useful and visually rich. This same principle applies room by room; for kitchen-specific applications, see our guide on the elements that make a kitchen feel cohesive.
Start With What You Have
Before buying anything, audit the fixtures already in your room. Write down their types, positions, and bulb temperatures. You may find that swapping bulb color temperatures or adding one plug-in lamp creates significant improvement without any major purchases.
Understanding this framework also makes purchasing decisions clearer. Instead of asking "what lamp looks nice?", you ask "which layer am I missing, and what type of fixture fills that gap?" That shift in thinking saves money and prevents the common mistake of adding more of the same type of light when what a room actually needs is a different kind.
How to Apply the Three Layers in Your Room
The steps below walk you through planning and implementing all three layers. They are designed to work whether you are starting from scratch or refining an existing room. You do not need to complete everything at once - even adding one missing layer creates a noticeable improvement.
What you will need
Ambient light source (overhead fixture, flush-mount, or floor lamp)
Provides the base layer of general illumination that allows safe movement through the room.
Task light (desk lamp, under-cabinet strip, or swing-arm lamp)
Delivers focused, brighter light for reading, cooking, working, or other close-up activities.
Accent light (picture light, shelf light, or directional spotlight)
Highlights architectural features, artwork, or objects to add depth and visual interest.
Dimmer switches or smart bulbs
Allow you to adjust brightness levels across layers to shift mood throughout the day.
Light bulb color temperature guide
Helps you choose bulbs in the right Kelvin range to achieve warm, neutral, or cool tones in each layer.
Map Your Room's Activities and Zones
Before touching a single fixture, sketch a simple floor plan and mark where different activities happen: seating areas, work surfaces, display walls, and pathways. Lighting decisions should follow function. A corner used only for a decorative chair needs different treatment than a desk where someone works for hours. This map becomes your blueprint for which layer - ambient, task, or accent - belongs in each zone.
Establish Your Ambient (General) Layer First
Ambient light is the foundation: a soft, even level of illumination that lets people move safely through the space and see it broadly. Ceiling fixtures, flush-mounts, and large floor lamps all contribute to this layer. Aim for ambient light that is comfortable but not harsh - think of it as the room's baseline, not its brightest setting. For reference, most interior designers recommend ambient light at roughly one-third of the maximum brightness you would use for detailed tasks. For more context on how ambient light interacts with natural light, see our article on natural vs. artificial light in interior design.
Add Task Lighting Where Work Happens
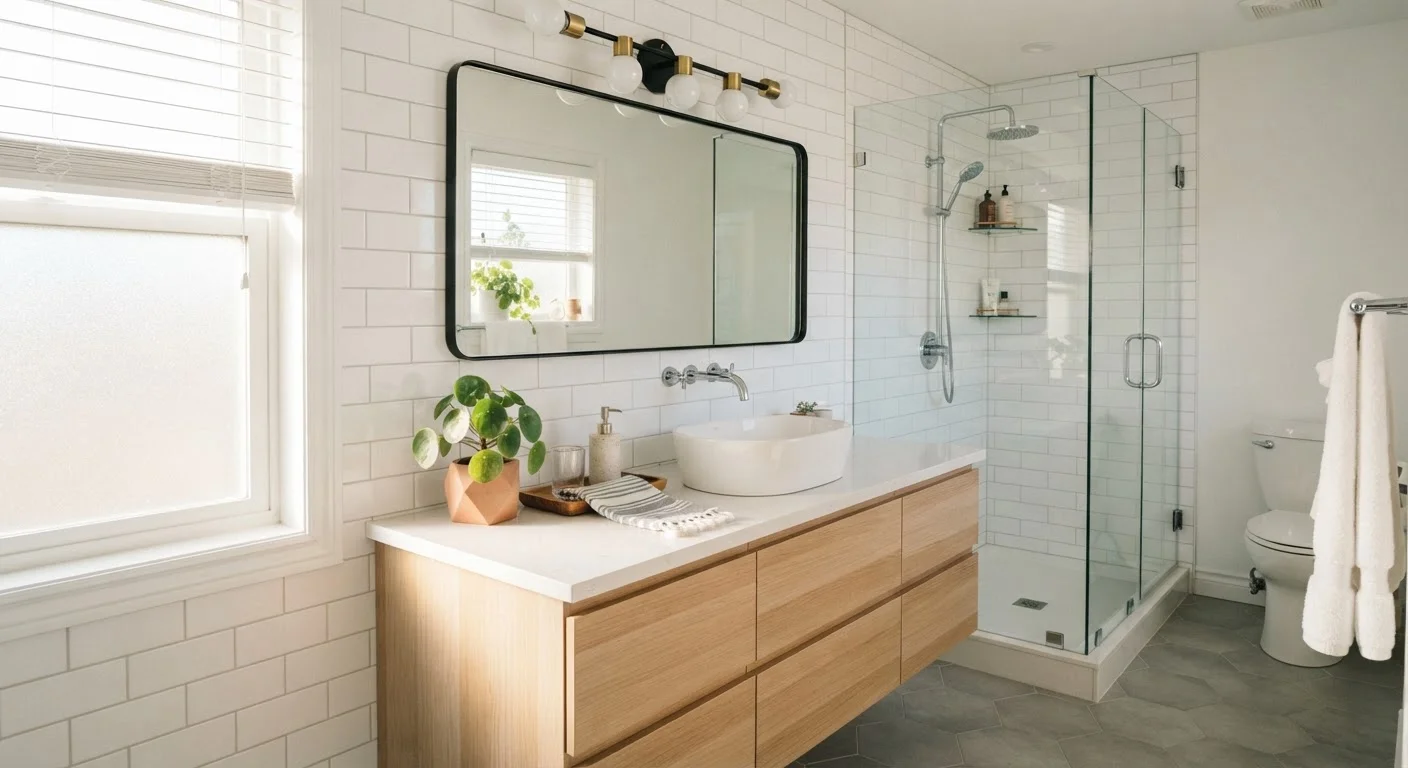
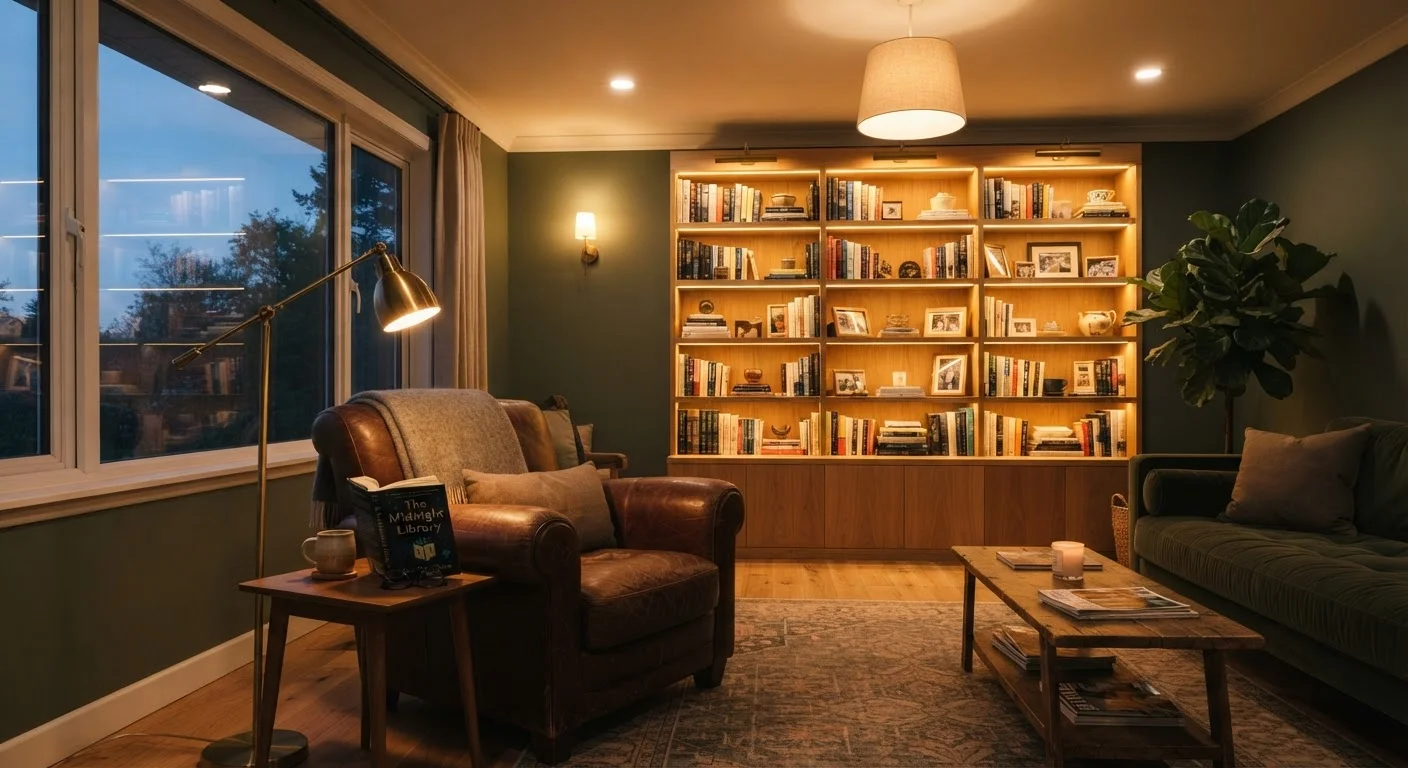
Task lighting is brighter and more directional than ambient light. It belongs wherever you perform a specific, focused activity: reading chairs, kitchen counters, bathroom vanities, home office desks. The goal is to eliminate eye strain without flooding the entire room. Position task lights so the light source itself is not in your line of sight - it should illuminate the surface, not your eyes. Under-cabinet strips in a kitchen are a practical example; a swing-arm lamp beside a reading chair is another. For kitchen-specific guidance, the article how lighting transforms the feel of a kitchen covers task placement in detail.
Layer In Accent Lighting for Depth and Drama
Accent lighting draws the eye intentionally. It highlights artwork, architectural details, bookshelves, plants, or textured walls. As a rough guideline, accent lights are typically three to five times brighter than the ambient layer in their immediate area - the contrast is what creates visual interest. Picture lights mounted above framed art, small spotlights aimed at a gallery wall, and LED strips inside open shelving all qualify. Without accent lighting, a room may feel flat even when it is technically well-lit. Accent choices also interact with your color palette; warmer accent bulbs (around 2700K) bring out richness in earthy tones, while cooler bulbs (3000-3500K) suit more modern, neutral spaces. For help thinking through how those tones interact with wall color, see choosing a paint palette that works with your lighting.
Unify the Layers With Dimmers and Color Temperature
Once all three layers are in place, the final step is making them work together across different times of day. Dimmers - whether traditional wall dimmers or smart bulbs controlled by an app - let you reduce ambient brightness in the evening while keeping task lighting at full strength for reading. Crucially, aim for consistent color temperature across each layer: mixing a warm 2700K ambient bulb with a stark 5000K task lamp in the same room creates visual discord. Decide on a temperature range for the room (warm for living spaces, neutral for kitchens and offices) and stick to it across all fixtures. Textiles and soft furnishings also interact with light; warm-toned lighting can enhance the coziness of a layered textile scheme - something explored further in how soft furnishings shape a room's mood.
Electrical Work Requires a Licensed Professional
Installing new ceiling fixtures, recessed lighting, or rewiring switches typically requires an electrical permit and a licensed electrician in most U.S. jurisdictions. This guide focuses on planning your lighting scheme and working with existing or plug-in fixtures. Do not attempt to modify wiring yourself - always hire a qualified professional and verify local permit requirements before any electrical work begins.
Match Bulb Wattage to Fixture Ratings
Every light fixture carries a maximum wattage rating printed inside the socket housing. Exceeding that rating is a fire hazard. If you are switching to LED bulbs - which draw far fewer watts but produce equivalent light - check the fixture's rated wattage and the bulb's watt-equivalent label to ensure compatibility.
Once you have worked through these steps, take a moment to evaluate the room at different times of day and with different combinations of layers active. A room that looks right at noon should feel equally intentional at 9 p.m. with only the task and accent layers on. That range of usability is the true goal of layered lighting - and it is achievable in any room, at any budget level. For broader home improvement context, the Home Improvement Tips hub offers additional practical guidance on upgrading your living spaces.