Start With a Plan, Not a Power Tool
The most common mistake first-time renovators make is skipping directly to the hardware store. A clear project plan saves money, prevents re-dos, and makes weekends feel productive rather than chaotic.
Begin by defining your project scope in writing. What exactly are you changing, and why? A scope statement as simple as "repaint the living room walls and replace the ceiling fan" keeps you focused. From there, sketch a rough timeline - most beginner projects realistically stretch across two to three weekends once you account for drying times, material runs, and learning curves.
Research your project thoroughly before spending a dollar. Video tutorials, manufacturer installation guides, and your local library's home improvement section are all free resources. For a broader framework on moving from idea to execution, home renovation planning from first idea to final walkthrough offers a comprehensive walkthrough of the full process.
Project scope
A clear description of exactly what work will be done, what materials are needed, and what the finished result should look like. Defining scope prevents a project from expanding uncontrollably.
Permit
Official approval from a local government authority required before certain types of construction or renovation work can legally begin. Permits ensure the work is inspected for safety compliance.
Load-bearing wall
A wall that supports the structural weight of the floors or roof above it. Removing or modifying a load-bearing wall without professional guidance can compromise a home's structural integrity.
Personal protective equipment (PPE)
Gear worn to reduce exposure to hazards - including safety glasses, gloves, respirators, and hearing protection - appropriate to the specific task at hand.
Contingency budget
A portion of your total project budget set aside specifically for unexpected expenses, mistakes, or price increases. Industry guidance often suggests 15-20% of estimated costs.
Non-contact voltage tester
An inexpensive handheld tool that detects whether electrical current is present in a wire or outlet without direct contact, helping confirm power is truly off before you work.
Know Your Limits: DIY vs. Licensed Work
Not every task belongs on a weekend warrior's to-do list. Understanding which jobs legally require a licensed professional protects your safety, your investment, and your home's resale value.
As a general rule, cosmetic updates - painting, replacing hardware, installing tile over an existing subfloor - are fair game for most motivated beginners. Work that touches your home's core systems is a different story. Electrical panel upgrades, adding new circuits, gas line modifications, structural wall removal, and plumbing connections to the main supply line are regulated in most U.S. jurisdictions and typically require both a licensed contractor and a permit.
Regulated Work Requires Licensed Professionals
In most U.S. jurisdictions, work on electrical panels, gas lines, load-bearing structures, and plumbing connections to the main supply is legally required to be performed by a licensed contractor. Attempting this work without the proper license can void your homeowner's insurance, result in fines, and create serious safety hazards. When in doubt, call a professional and verify local permit requirements before starting.
For a clear-eyed breakdown of exactly where the line falls, see DIY repairs vs. hiring a licensed contractor. And before any project, verify permit requirements with your local building department - understanding when projects require official approval explains what's typically covered.
Essential Tools for the First-Time Renovator
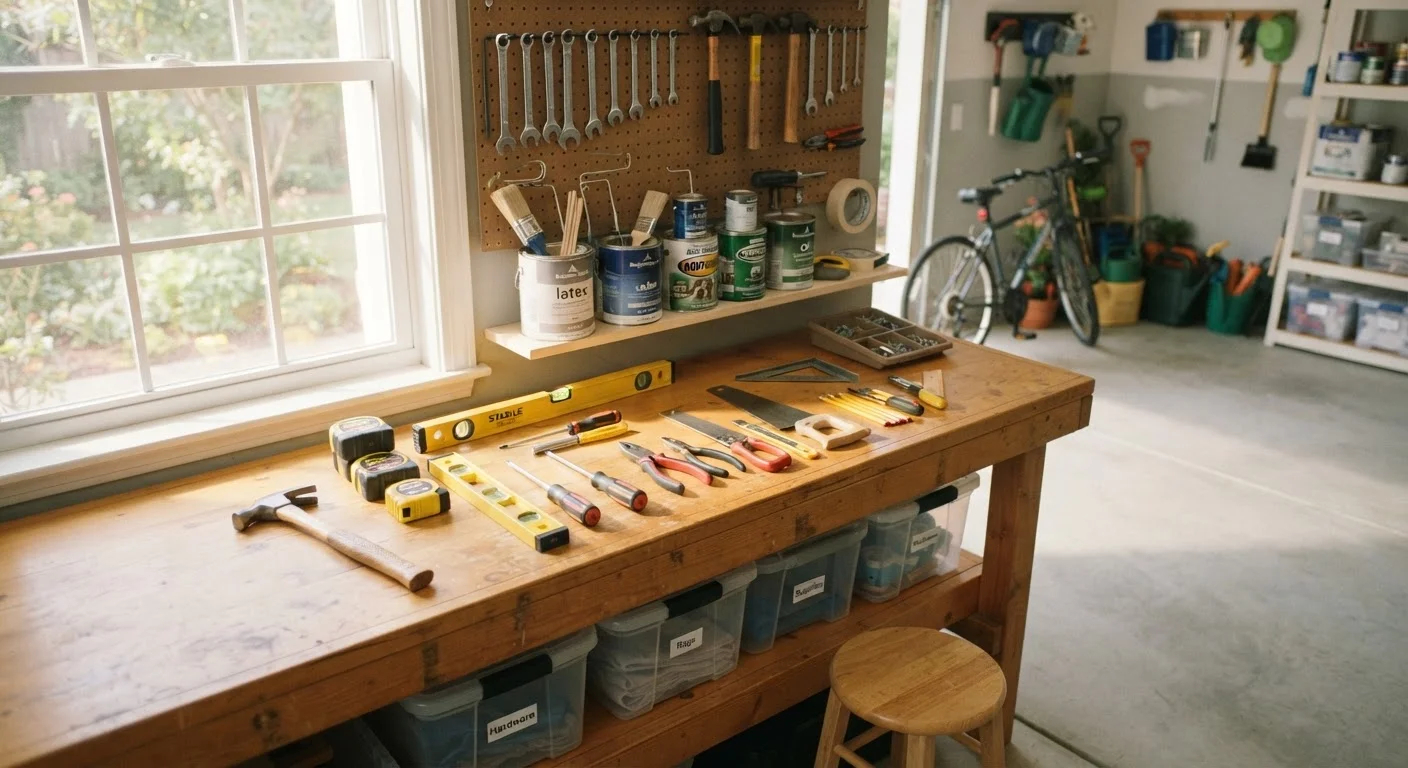
You don't need a truck full of equipment to handle most beginner projects. A focused starter kit covers the majority of common tasks without a large upfront investment.
- Tape measure - 25-foot length handles most rooms and materials.
- Cordless drill/driver - the single most versatile tool for a beginner; choose one with variable speed and a lithium-ion battery.
- Hammer - a 16-oz claw hammer suits most general tasks.
- Level - a 24-inch or 48-inch level keeps shelves, frames, and fixtures true.
- Utility knife - essential for scoring drywall, trimming flooring, and opening packaging cleanly.
- Putty knife - for patching holes and applying spackle.
- Adjustable wrench and screwdriver set - cover fastener and fixture basics.
Resist the urge to buy specialty tools before you know you need them. Many home improvement retailers and tool libraries offer rentals for less-common equipment, which keeps startup costs manageable.
Borrow Before You Buy
Before purchasing a specialty tool you may only use once, check whether your local library, tool-lending program, or hardware store offers rentals. Many communities have tool libraries that let cardholders borrow drills, sanders, and tile saws for free or a small fee. Starting a project with rented equipment also lets you try a tool before deciding whether it's worth owning.
Safety Fundamentals Every Beginner Needs
Cutting corners on safety is the fastest way to turn a productive weekend into an expensive trip to urgent care. A few non-negotiable habits keep you protected on every project.
Personal protective equipment (PPE): Safety glasses protect against dust and debris on virtually every job. Nitrile gloves shield your hands from adhesives, solvents, and rough materials. An N95 respirator is appropriate when sanding, cutting drywall, or working with paints that have strong fumes. Always read the safety data sheet for any chemical product before use.
Electrical safety: Before touching any wiring - even to swap a light switch - turn off the relevant circuit at the breaker panel and confirm the power is off with a non-contact voltage tester. Never assume a switch is enough.
Ladder safety: Set ladders on stable, level ground. Follow the manufacturer's weight rating and never stand on the top two rungs. A spotter is helpful when working at height.
Ventilation: Paints, stains, and adhesives release fumes. Open windows, run fans, and take breaks outdoors when working in enclosed spaces.
Managing Budget and Hidden Costs
First renovations almost always cost more than the initial material estimate suggests. Building a realistic budget from the start prevents the frustration of a half-finished project when funds run dry.
Gather itemized material quotes before committing to a project. Add 15-20% as a contingency buffer - this accounts for measurement errors, damaged materials, and the occasional re-do that comes with learning. hidden costs of DIY renovations details exactly where money tends to disappear, from disposal fees to tool rentals.
Separately, consider the long-term picture. Home repairs don't stop at your first project. building an emergency fund for home repairs explains how experienced homeowners set aside reserves so that unexpected maintenance never derails the rest of their finances.
Once your first project wraps up successfully, it's natural to turn your eye toward specific rooms. Our kitchen decoration guide for first-time homeowners is a practical next step for one of the most impactful spaces in any home.
This article is for general informational and educational purposes only. Always consult local building codes, a licensed contractor, or other qualified professionals before undertaking renovation work, particularly tasks involving electrical, gas, structural, or plumbing systems.