Why Smart Home Routines Feel Complicated (And Why They Don't Have to Be)
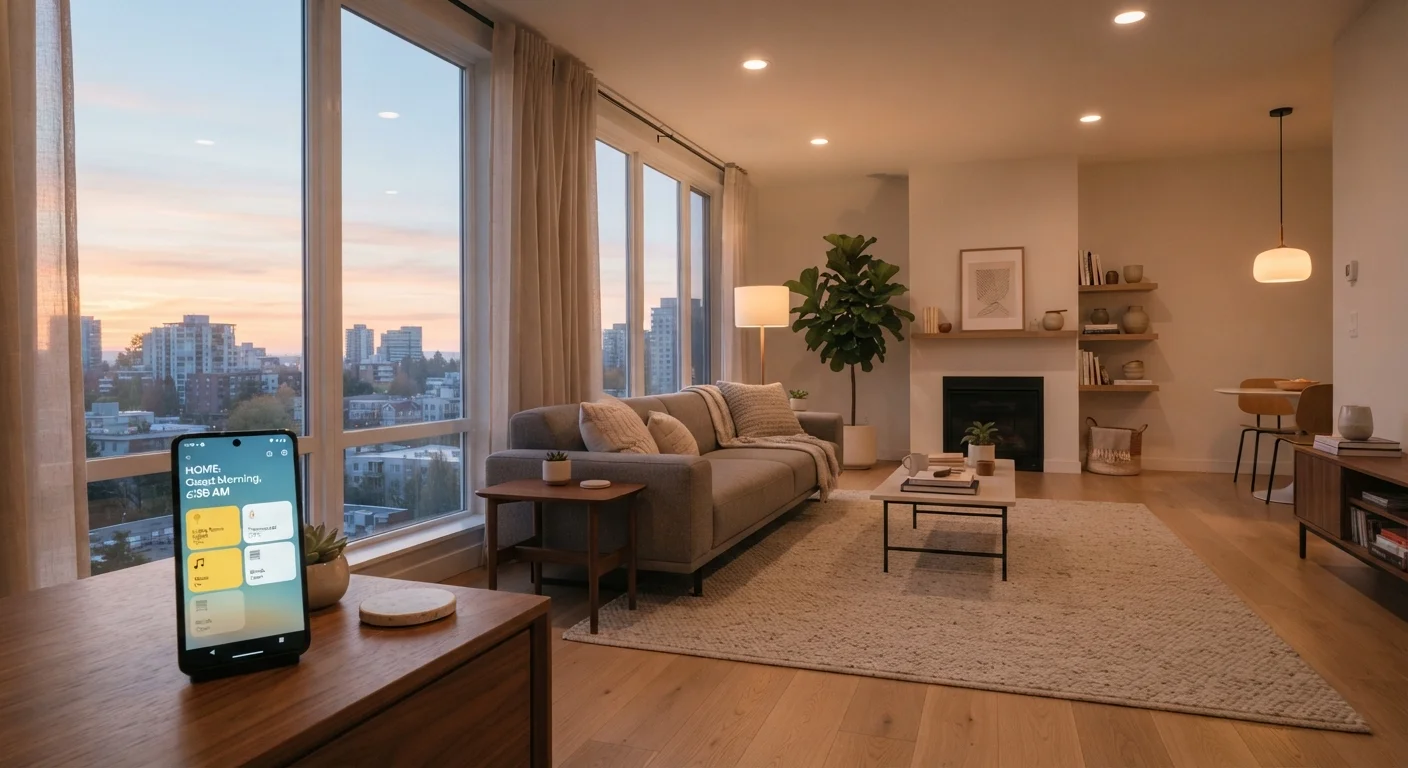
Smart home technology has a reputation for being intimidating - and that reputation isn't entirely undeserved. Dozens of device types, multiple competing platforms, and jargon like "scenes," "triggers," and "automations" can make the whole thing feel like an IT project rather than a home improvement. But in practice, most people only need two or three well-chosen routines to make a meaningful difference in daily life.
The key is to resist the temptation to automate everything at once. A focused start - one routine, one room - builds confidence and teaches you how your specific devices and platform actually behave. From there, expanding is straightforward. Our guide on common pitfalls for new smart home users is worth a read before you dive in, so you can sidestep the mistakes others make early on.
What you will need
What You'll Need Before Building Your First Routine
Before opening any app, it helps to understand the basic building blocks. A routine is simply an instruction that says: when X happens, do Y. The "when" is your trigger - a time of day, a location event like leaving home, or a sensor detecting motion. The "do" is your action - turning on a light, locking a door, or adjusting a thermostat.
Most major platforms - including Amazon Alexa, Google Home, and Apple Home - provide visual editors inside their apps that let you build these trigger-action pairs without any technical knowledge. You don't write code; you tap through menus. That said, having the right hardware from the start matters enormously.
Smart Home Hub or Voice Assistant
Acts as the central controller that connects and coordinates all your smart devices.
Smart Bulbs or Smart Plug
Your first automation target - easy to configure for lighting schedules or power on/off routines.
Smart Motion Sensor
Triggers automations based on movement, useful for away-mode or nighttime lighting routines.
Smart Thermostat
Enables temperature-based scheduling, often a natural second automation after lighting.
Step-by-Step: Building Your First Three Routines
The three routines below represent a practical starter set - morning lighting, evening wind-down, and away mode. Work through them in order, fully testing each before moving to the next.
Set Up a Morning Lighting Routine
Open your smart home app and navigate to the Routines or Automations section. Create a new routine with a time-based trigger - for example, 7:00 AM on weekdays. Set the action to turn on your chosen smart bulb or group of bulbs at a comfortable brightness level (around 60-70% is a gentle wake-up level for most people). Save and name the routine clearly, such as "Morning Lights."
Run the routine manually once to confirm the lights respond correctly before relying on the schedule.
Create an Evening Wind-Down Routine
Repeat the process with a second routine triggered at a fixed evening time - say, 9:00 PM. This time, configure the action to dim your lights to 30-40% and, if your bulbs support it, shift to a warmer color temperature. This signals to your household that the day is winding down and can make transitioning to sleep easier.
You can layer additional actions onto this same routine, such as lowering a smart thermostat by a degree or two, but keep it simple for now.
Configure an Away-Mode Routine
Away mode is triggered when you leave home - most platforms detect this using your phone's GPS location. In your app, create a new routine with a location-based trigger set to "When I leave home." Configure actions such as: turning off all lights, locking any smart locks, and - if you have a smart thermostat - setting it to an energy-saving temperature.
For added security without additional hardware, some platforms allow smart bulbs to simulate occupancy by turning on and off at intervals while you're away. Check whether your platform supports this under "Away Lighting" or similar settings.
Troubleshooting and Expanding From Here
If a routine doesn't fire as expected, the most common causes are: the device losing its Wi-Fi connection, a trigger condition that's slightly misconfigured, or a platform update that reset a setting. Always test routines manually using the "Run" or "Test" option inside your app before trusting them to work automatically.
Once your three starter routines are running reliably, you'll have a clear sense of what your platform can do and what kinds of automations fit your actual lifestyle. That's the right moment to expand - whether that means adding a thermostat schedule, setting up guest-mode lighting, or exploring voice-command shortcuts. For a deeper look at building a dependable connected home long-term, see our guide on building a smart home that actually works.
Rename Everything Right Away
Default device names like "Smart Bulb 3" or "Plug_A4F2" make routines confusing to manage after a few weeks. The moment you add a device or create a routine, give it a clear, location-based name: "Living Room Lamp," "Front Door Lock," "Bedroom Morning Lights." This small habit pays off significantly as your setup grows.